Short answer
Use Windows auto-save for files. Use a workspace when the screenshots belong to a project.
Press Win + Shift + S to select a region. Current Windows Snipping Tool versions can automatically save captures when the setting is enabled. Microsoft documents the available capture modes, saving behavior and settings in its official Snipping Tool guide.
That native workflow is often enough for occasional screenshots. The limitation appears when you collect ten, thirty or one hundred visual references for an article, video, design review or customer issue. A folder stores files, but it does not automatically preserve why each image mattered.
Windows already provides good region capture and can auto-save in supported versions. ClipDock is useful when repeated screenshots need project context, visual browsing, local OCR retrieval and later reuse.
Option one
Automatically save with Windows Snipping Tool
Open region capture
Press Win + Shift + S, then choose the rectangular, window, full-screen or free-form mode available in Snipping Tool.
Check the save setting
Open Snipping Tool settings and confirm that screenshots are saved automatically. The exact wording and available behavior can vary by app and Windows version.
Confirm the destination
Make one test capture and verify its actual folder before depending on the workflow. This is especially important after an update or when several screenshot tools are installed.
Option two
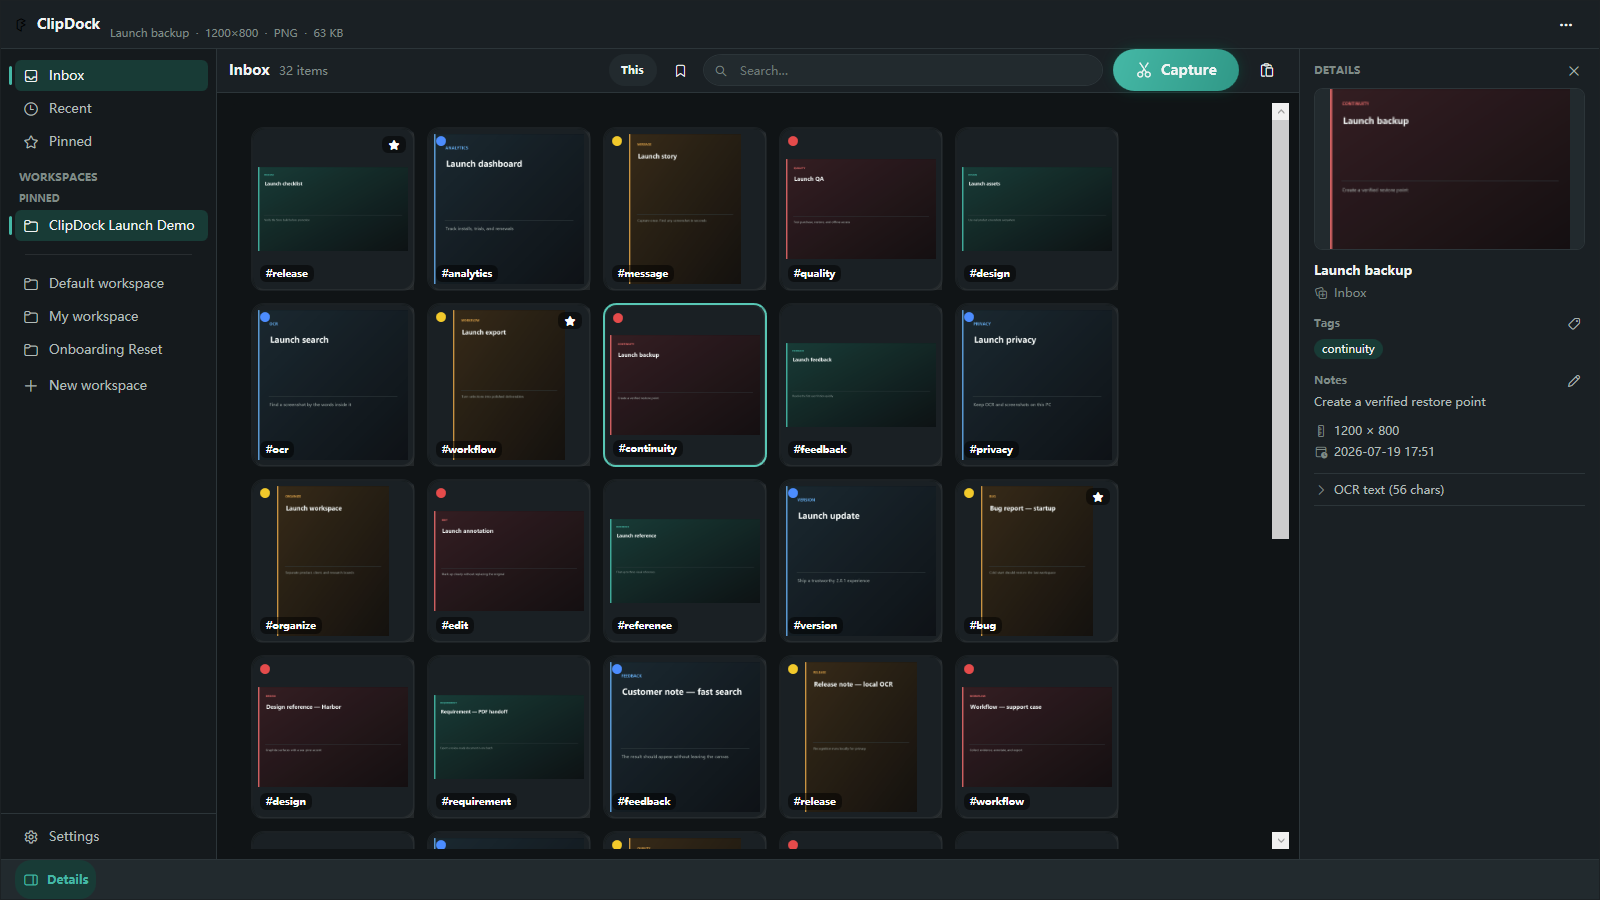
Collect repeated captures directly into the current ClipDock workspace
Choose the workspace for the project, use the ClipDock capture hotkey, select the useful region and continue researching. Each completed capture becomes a local library item instead of interrupting the session with a Save As dialog.
| Need | Windows auto-save | ClipDock workspace |
|---|---|---|
| Occasional region capture | Usually the simplest choice. | Useful but not required. |
| Many references for one project | Creates files in a folder. | Keeps captures together in the selected workspace. |
| Remember why an image mattered | Depends on folders and filenames you maintain. | Add names, tags, notes, groups and pinned state. |
| Find remembered words later | Depends on Windows indexing and other tools. | Search locally recognized screenshot text and item context. |
| Best fit | Quick capture and ordinary file storage. | Repeated collection, organization, retrieval and reuse. |
Honest boundaries
Know which problem you are solving
- ClipDock capture is deliberate: you still select each region you want to keep.
- ClipDock does not scrape websites or silently collect images from other applications.
- Ordinary capture, the screenshot library and OCR processing remain local by default.
- If all you need is a few automatically saved files, Windows Snipping Tool may already be enough.
FAQ
Common region screenshot questions
Can Windows save region screenshots without asking for a filename?
Yes, supported current Snipping Tool versions can automatically save screenshots when the setting is enabled. Verify the setting and destination on your own Windows installation.
Does ClipDock replace Win + Shift + S?
No. You can keep using Snipping Tool, or use ClipDock's own region-capture hotkey when you want captures to enter a ClipDock workspace directly.
Why not put every screenshot in one folder?
A folder is sufficient for simple storage. Workspaces, tags, notes and local OCR become useful when the screenshots are recurring project material you need to retrieve later.
Keep the capture flow. Add a place for the useful results.
Start free, collect screenshots in a project workspace, and decide whether the organization and local search save you time.